Post-It Note Glider
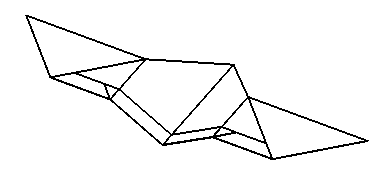
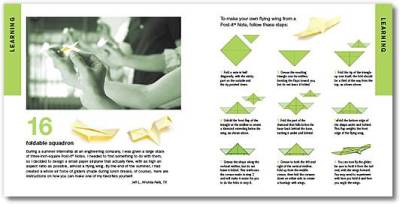
Here's a glider that I came up with from a Post-It Note. There were two things that I was trying to accomplish: 1, to actually make a small paper airplane that flew, since folding a conventional paper airplane from a Post-It note just doesn't work, and 2, to try and make as high an aspect ratio as possible, almost a flying wing. I think I did fairly well on both counts.
A publisher liked this airplane enough to include it in a book, Post-It Notes: Ideas That Stick! (see publisher's page for a peek inside the book). It's amazing how much better they made it look, but I guess that's what graphics artists do.
|
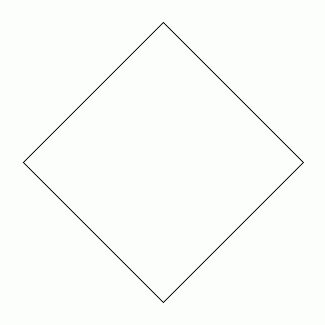
Step 1 Start with a square Post-It Note. |
|
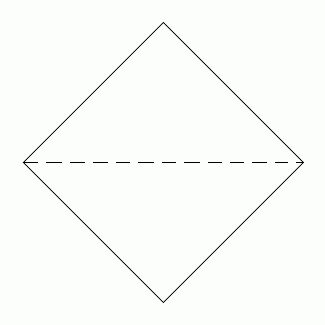
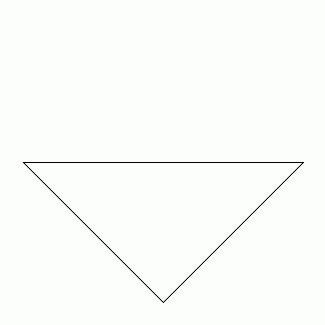
Step 2 Fold along the indicated line, so that the sticky part gets folded to the inside. |
|
Step 3 Your paper should now look like this. |
|
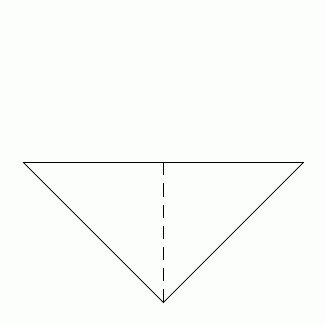
Step 4 Make a crease through both layers along the line shown, but then leave the paper as shown. This crease will act as a centerline to make later folds easier. |
|
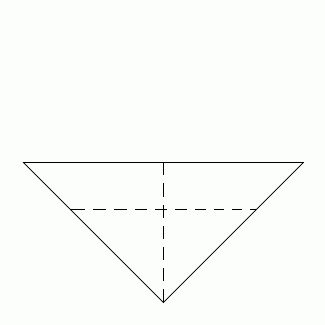
Step 5 Fold both layers along the indicated line. This line is about a third of the way from the flat edge to the point of the triangle. |
|
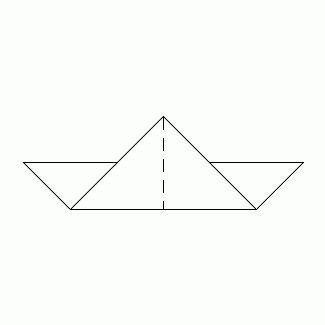
Step 6 Your paper should now look like this. The top flap should have the sticky part of the note. If it doesn't, just reverse your fold. |
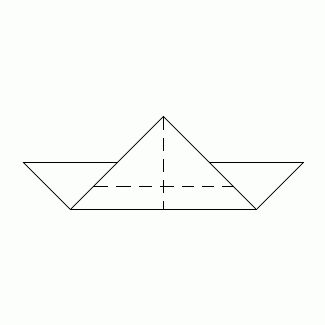
|
Step 7 Fold only the top flap along the line shown. It is halfway between the two flat edges. |
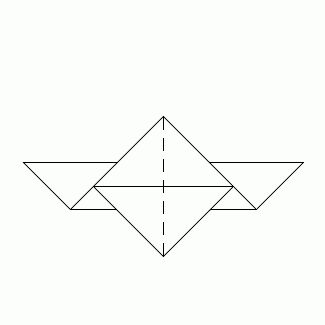
|
Step 8 Your paper should now look like this. |
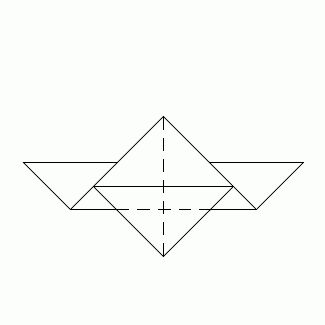
|
Step 9 Fold the top flap down over the front edge along the line shown. |
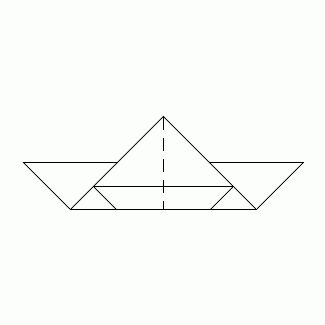
|
Step 10 Your paper should now look like this. |
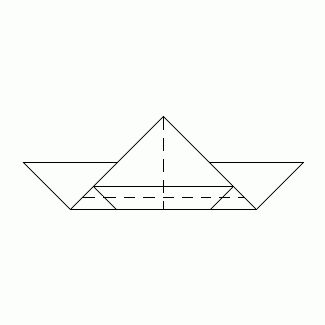
|
Step 11 Tuck the top flap in by folding down along the line shown. |
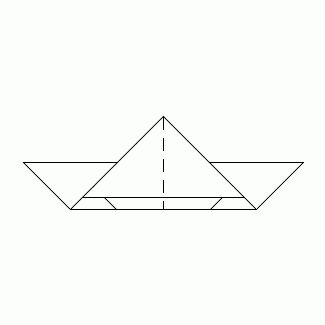
|
Step 12 Your paper should now look like this. Next, bring the two wingtips together by folding up along the centerline. This will help pull all the flaps together. |
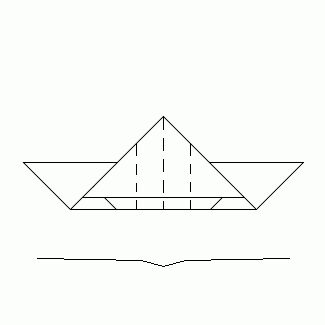
|
Step 13 Fold the wings down along the two lines shown. Then, flatten the glider out so that it has a profile about like that shown in the lower part of the diagram. To fly it, hold it level by the tail (the flap sticking out the back) and give it a slight push forward. It may take a few tries to get the technique right. Play around with folding the wingtips. I've found many different configurations that work. |
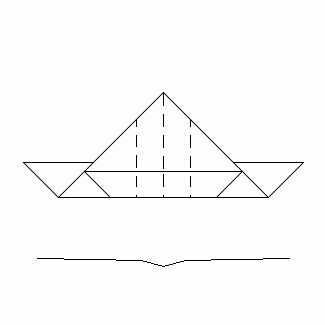
|
Alternate In steps 5 and 6, make the fold at 1/4 of the way from the flat edge to the point. In steps 7 and 8, make the fold at 1/4 of the way from the back edge. Do not make the fold in step 11 and the first part of step 12. |
